Pages

.

Cliptomania [28.10.2017]


00:25 LCD Soundsystem — Daft Punk Is Playing At My House
03:46 The Chemical Brothers — K+D+B
09:27 Gorillaz — Rockit
13:47 Saint Michel — Bob
17:45 Washed Out — Floating By
21:35 KN1GHT — Last Moon
reade more... Résuméabuiyad

Curtometria [28.10.2017]


00:23 Plush Assassin [2017]
02:48 Cobalt [2013]
04:37 Way Back to the Sea [2014]
reade more... Résuméabuiyad

Pet Halloween Outfit DIY: Beanie Baby

Hey! This will be the last of our DIY outfit series for this years Halloween. I had a heap of others planned, however my execution of them wasn't fantastic and they looked nothing like how I intended them to. That all made me rethink my outfit ideas, and thus this one was born. It is super simple, easy to get the supplies/you already own them, and it's effective. I do think you have to be a certain age to understand the reference, as I was telling my sisters the idea and they had no clue what I was talking about. Even with that, I think it is adorable and the easiest last minute outfit to throw your pet into.


This DIY is for those that remember collecting Beanie Baby toys. They were the best toys growing up, and I was always jealous of my sisters collection. When you purchased a Beanie Baby they all had love heart tags with TY on the front, and cute personal details about each toy on the inside of their tag. This DIY is perfect for any pet you may own as Beanie Babies came in a wide variety of animals and colours.

You will need:

- Red coloured card stock
- White paper
- Ribbon
- Glue

It's as easy as that! You want to fold your card stock in half as this gives you the edge you need to make an opening tag. You can free-hand the heart shape as well as the letters, or print off a template. The latter is what I chose to do as I have no free-hand drawing ability and I didn't want to have a strange, lopsided heart tag!


Cut out a heart shape with one edge of the heart overlapping the crease of the card stock. This is how the tags looked, with a blunt edge on the opening side of the heart. Cut your T and Y letters from your white paper. These are in a particular cartoon font, so try and replicate this as best as possible. Since making this DIY I have noticed that a lot of the tags also had a gold star in one corner. I think that would be cute to also add in, like this.

Glue it altogether and attach your ribbon to the back on the tag. I cut my ribbon in a loop to the length of the pets necks, but you can also do two strips that you tie onto your pet. Write on the inside of the heart with your pets details, including name, date of birth, likes and dislikes, etc.

Done!

I love this DIY so much and would love to see your pets dressed up with their Beanie Baby tag! Tag us in photos on Facebook or Instagram!

reade more... Résuméabuiyad

Daisy's Doggy Deli Halloween Treats

Hey! I pestered the lovely Suzanne from Daisy's Doggy Deli to make me some Halloween treats for the pooches. Not only did I pester though, I gave her a short time frame. I am the queen of leaving everything til the last minute, and therefore made sure that Suzanne was on the same time frame as I. She stood up to the challenge and started to test some Halloween cookie recipes for me. She had never made Halloween dog treats, nor had she any idea on how she was going to do these.


She ended up making some marvellous treats, however, unfortunately because of that quick turn around their was no real chance to test them before she shipped them off to me. This meant that when the parcel arrived (on a very hot, spring day) the icing on the mummy had unfortunately melted everywhere. It looked quite the sight, closer to marmite toast than a mummy. She emailed me her apologises, and said that unfortunately they are not promotional and she will try again next year.

I decided to still take photos as the dogs ate their new treats in hopes of getting some funny shots. Instead, I managed to capture their absolute joy at eating these treats. I couldn't let some melted icing ruin the amazing work that Suzanne had done. So here I am to show you the photos of the dogs enjoying their Halloween cookies from Daisy's Doggy Deli. As you can see, each dog had a different eating style. Diego seem to be all lips when chewing, Ollie didn't want to eat it while I held and Chico went in teeth blazing. Sadly, you won't be able to purchase your own replica's of these, but you can shop her other amazing dog cookies that Diego absolutely adores as well!

reade more... Résuméabuiyad

Cliptomania [21.10.2017]


00:25 Nelly Furtado — Explode
04:09 Björk — Hunter
07:44 deadmau5 ft. Gerard Way — Professional Griefers
13:50 Dope Lemon — Marinade
17:48 N.A.S.A. ft. Karen O — I Shot The Sheriff
21:51 Afrojack + David Guetta ft. Ester Dean — Another Life
reade more... Résuméabuiyad

Curtometria [21.10.2017]


00:23 Tzadik [2013]
06:43 Melting Down [2015]
09:56 Paranoia [1992]
reade more... Résuméabuiyad

Beetroot & Mackerel Dog Treat Recipe

Hey! I love to whip up my own dog treats from time to time to supplement those that I purchase. With Diego, I have to use treats while out walking him as a training tool, as well as some trick training at home to keep his mind busy. This means we go through a lot of treats and I prefer to make sure these are high-quality with good foods. For this Halloween, I decided to try and make some cookies more spooky by adding orange and purple foods. For this I used Diego's favourite, carrot, as well as beetroot. It is good to add vegetables to your dog's diet because they contain many health-promoting nutrients from a natural source. Many of those nutrients are the ones that are often lacking in commercial dog foods, and natural source vitamins are much more effective than synthetic vitamins.


I chose to add beetroot, not just for it's vivid colour but beets provide a great source of fiber and are particularly rich in folate, an important B vitamin for a healthy heart and essential for normal tissue growth. Beetroots contain good amounts of iron, potassium, magnesium and more. The benefits for dogs are much the same as humans and that is why I try to put beetroots into Diego and I's lives often.

Carrot is one of Diego's favourite vegetables. He would just sit there gnawing on a carrot if he had the opportunity, and whenever he hears me cutting carrots he comes racing over. Carrots provide Beta-Carotene, Vitamin A and soluble fiber, which all helps towards great eyesight.


For this recipe you will need:

1 Mackerel Can
2 Carrots
1 Beetroot
2 Eggs
1/2 tsp Baking Powder
2c Flour

This is a guess at the rough quantities of ingredients. This was the first time making this recipe, and I found I had to add a lot more flour to make sure it was dry enough to roll out. I would suggest making sure you have a lot of flour on hand so that you can add as you see necessary. An alternative would be to add in wholegrain oats as well. I decided to skip this step though.

First off, you will need to break up the mackerel into more of a mash. I kept half of the juice from the can, but I would suggest leaving about a quarter as it made the mixture quite wet. If you have a food processor, I would use that as it makes this step so much easier. However, I just used a fork and done an efficient job.


Putting the mackerel to the side, I grated both the beetroot and carrot and kept these separate. Once again, if you had a food processor this would be better as it would give you a finer grate. This would make cutting the cookies easier.

Next, I added all the dry ingredients and eggs (leave out the beetroot and carrot) to the mackerel. Make sure to stir well. Separate the mixture into two different bowls and add beetroot to one, and carrot to the other.


Roll out each mixture next to each other. I originally was going to make the cookies half and half with the mixture, but it was too wet when I rolled it out. In the end, I mixed them together which came out with a cool marbling pattern. Once rolled out, cut out your shapes and place them on a greased baking tray.

Your oven will need to be pre-heated to 180 degrees. Place the cookies in and let cook for 15 - 20 minutes. Flip them, and cook for a remaining 5 minutes. Once cooked, put them on a cooling rack until completely cool.


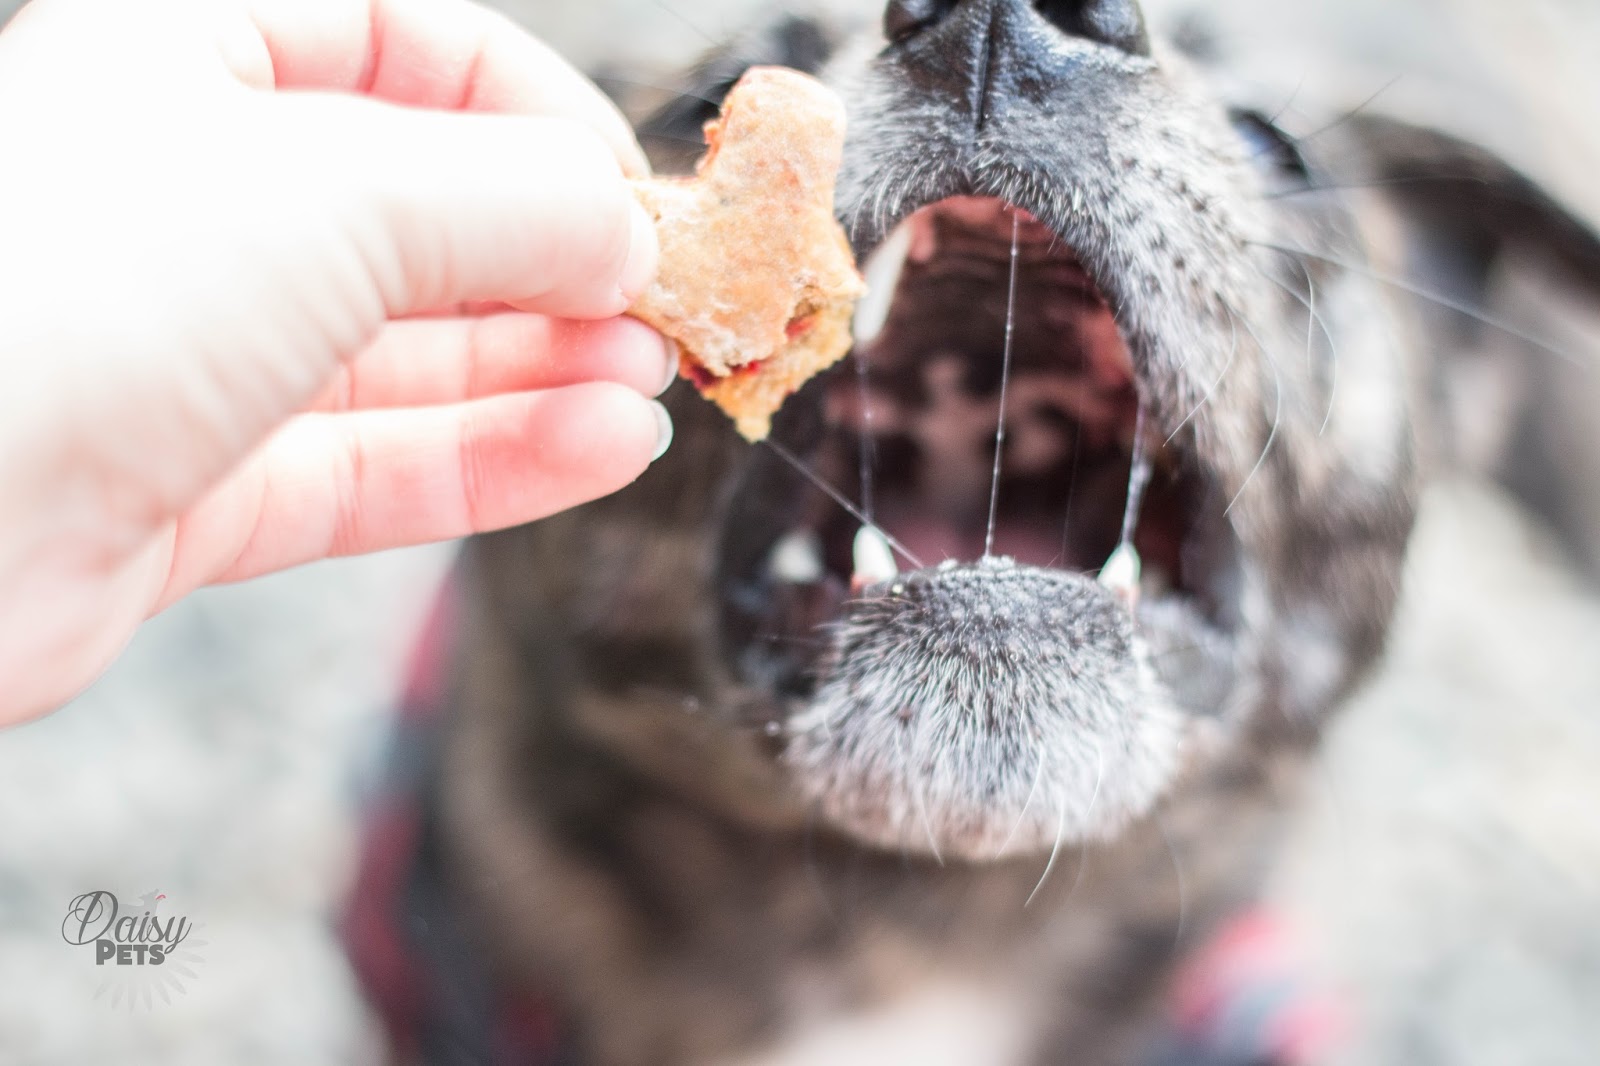
Finally step is to give to your pooch and watch them enjoy. These treats are a great healthy treat to be given any time, and depending on what cookie cutter you use, they can have a lot of different uses. Keep them in the fridge, and I find they last roughly a week.

If you make these, make sure to share photos with us on Facebook and Instagram!

reade more... Résuméabuiyad

Dog Halloween Outfit DIY: Mummy

Hey! I am going to admit right at the start that this tutorial is a complete fail. I have tried to complete this three times and I just couldn't master it. For some reason what I assumed would be easy and look effective, became harder and less effective the more I tried. I believe I know what could have helped the look, but after trying three times I really have just thrown in the towel. I hope that at least one of you can replicate this look but actually do a great job of it!


First off, I tried to quickly whip this up one evening before going out. Never try to do something quickly before going out. However, I did successfully dye my bandages dirty looking by using tea bags. This was a super efficient way of making the bandages look old and more worn. All I did was brew a handful of teabags in a bowl of water, dunk the bandages in and let soak for ten minutes. Then I wrung them out and hung them to dry.


Second, I then decided that I could just bandage Diego quickly up once I had already had my makeup on. I invited my talented friend Keke.Novabeauty over to do my 'mummy' makeup so that Diego and I could have a 'couples costume' for Halloween. I thought it would be easy to make Diego's outfit for the photoshoot and we would head off to a creepy scene to take photos. I was wrong. We spent ten minutes making Diego look fantastic, then he took one step outside, shook and the whole costume collapsed around him. From there, we just piled bandages on him and hoped for the best since we had spent multiple hours getting me ready for the shoot.


Finally, I decided to make a coat pattern of bandages to replicate the wrapping pattern of mummies, but also make it easy for Diego to wear. This worked efficiently that he was able to move, chase the ball and pose in his new costume. Did it look like a mummy? No. Did it look like a runaway bride? Still no, but more that than a mummy. Least this was a quick method as all I had to do was super glue a bunch of bandage pieces together, with more draping off that can be tied onto Diego.


Learning curves. I should have got long rolls of bandage instead of these smaller pieces, however one tiny roll of bandage was $4.50, yet 100 of these pathetic pieces of bandage were only $1. I am never one to say no to a deal. I also should have got some nappy pins to attach the bandages to Diego. These would have been stronger than the tape that I used for the second attempt, and less crazy than my third attempt.

Sometimes I think maybe I think too highly of my DIY skills... I would love to see if you have successfully made your pooch into a mummy or zombie! Please tag me in your photos on Instagram and Facebook.
reade more... Résuméabuiyad